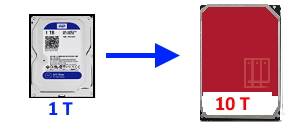
Simple and Fast Data Migration and Storage Expansion
Recently, a user encountered an issue where their original storage disk was full and wanted to directly migrate data from their existing PI server to a Windows server while expanding the storage disk. Let’s explore the fastest way to migrate and expand data, and this guide can also be used for data recovery. This article uses Windows as an example, but the process is similar for other platforms.

Contents
- Contents
- Step 1: Install Windows Lomorage Photo Assistant
- Step 2: Copy Data
- Step 3: Modify the
home_dirField in theuserTable of theassets.db
Step 1: Install Windows Lomorage Photo Assistant
Go directly to Lomorage to download the Windows version of the Photo Assistant and install it with the default settings.
Step 2: Copy Data
Since the original storage disk was full, User A chose a new 10TB large hard disk and transferred the data from the old storage disk to the new disk.
The new folder in new disk is:
d:\imagebk
Ensure the folder under d:\imagebk same like as below
d:\imagebk
|-- test
|-- user_name
|-- user_name2
|-- assets.db
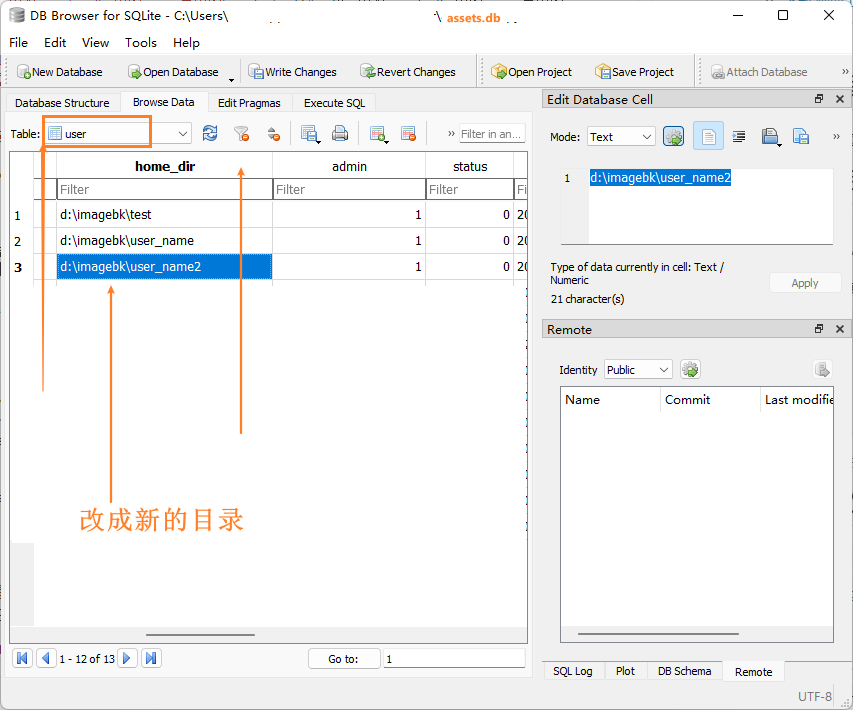
Step 3: Modify the home_dir Field in the user Table of the assets.db
Now we need to point the Lomorage photo assistant to the new storage disk. You can do this by modifying the home_dir field in the user table in the assets.db database.
3.1 Download Auxiliary Tool
Download a database management tool (like sqlitebrowser) to help edit the assets.db database file.

3.2 Stop Photo Assistant and Copy the Modified assets.db to the Default Installation Location:
> c:\Users\%username%\AppData\Local\lomoware\var\assets.db
Once you have modified the home_dir field, stop the Lomorage Photo Assistant and replace the old assets.db with the newly modified one at the default installation path. The default location is usually in the Lomorage folder under your user directory.
3.3 Restart Photo Assistant to Complete Data Migration, No More Worries About Full Disks!
After copying the modified assets.db, restart the Lomorage Photo Assistant. At this point, your data migration is complete, and the storage limit issue has been resolved!