Install Lomorage iOS client
You can install the application on either iPad or iPhone, the minimum iOS version required in 10.3.
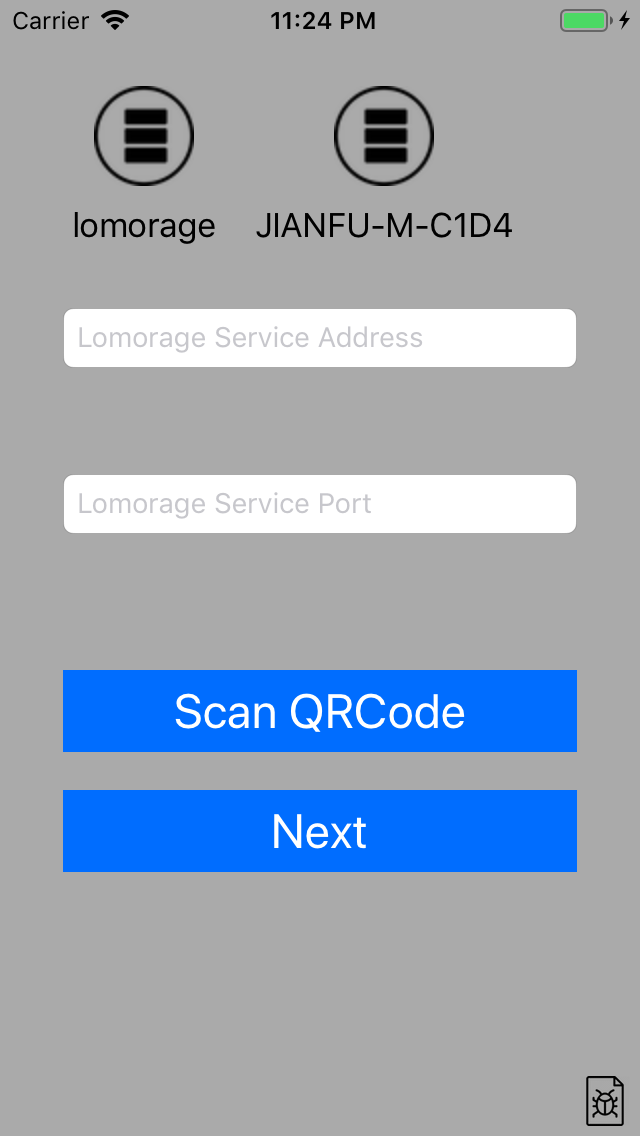
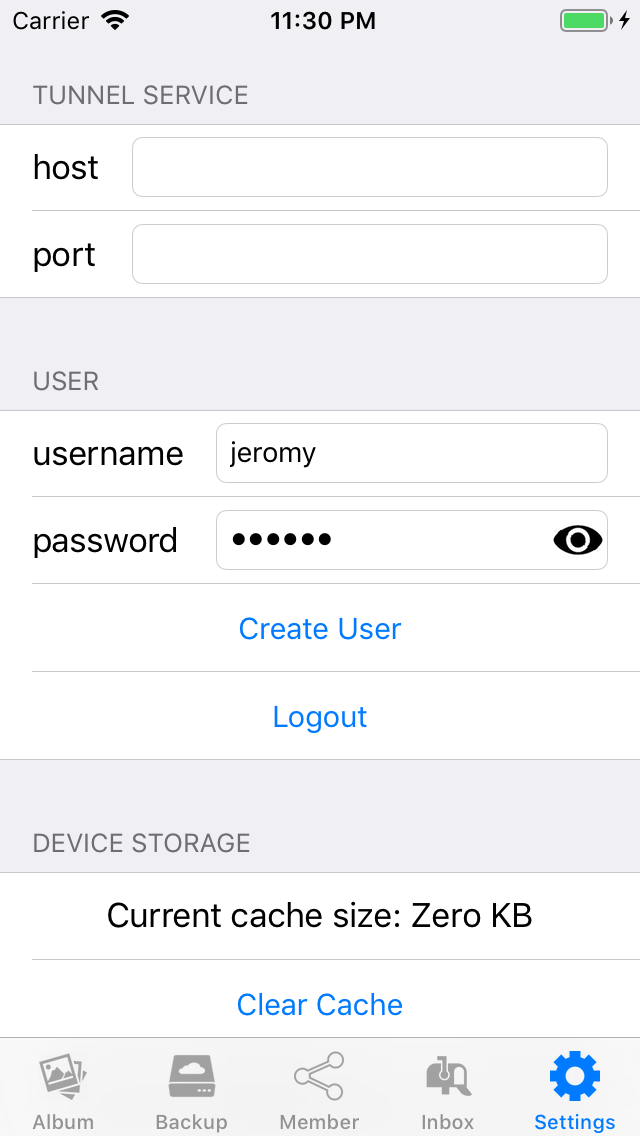
After launching Lomorage, it should be able to discover the Lomorage service running in the same network. If you have multiple Lomorage service instances running, those will be listed and you can choose one to use. If Lomorage service can’t be discovered automatically, you can discover the service via QRCode Scanning when using Windows or MacOS LomoAgent (open settings in LomoAgent to show the QRCode), or you can input the IP address and port manually.
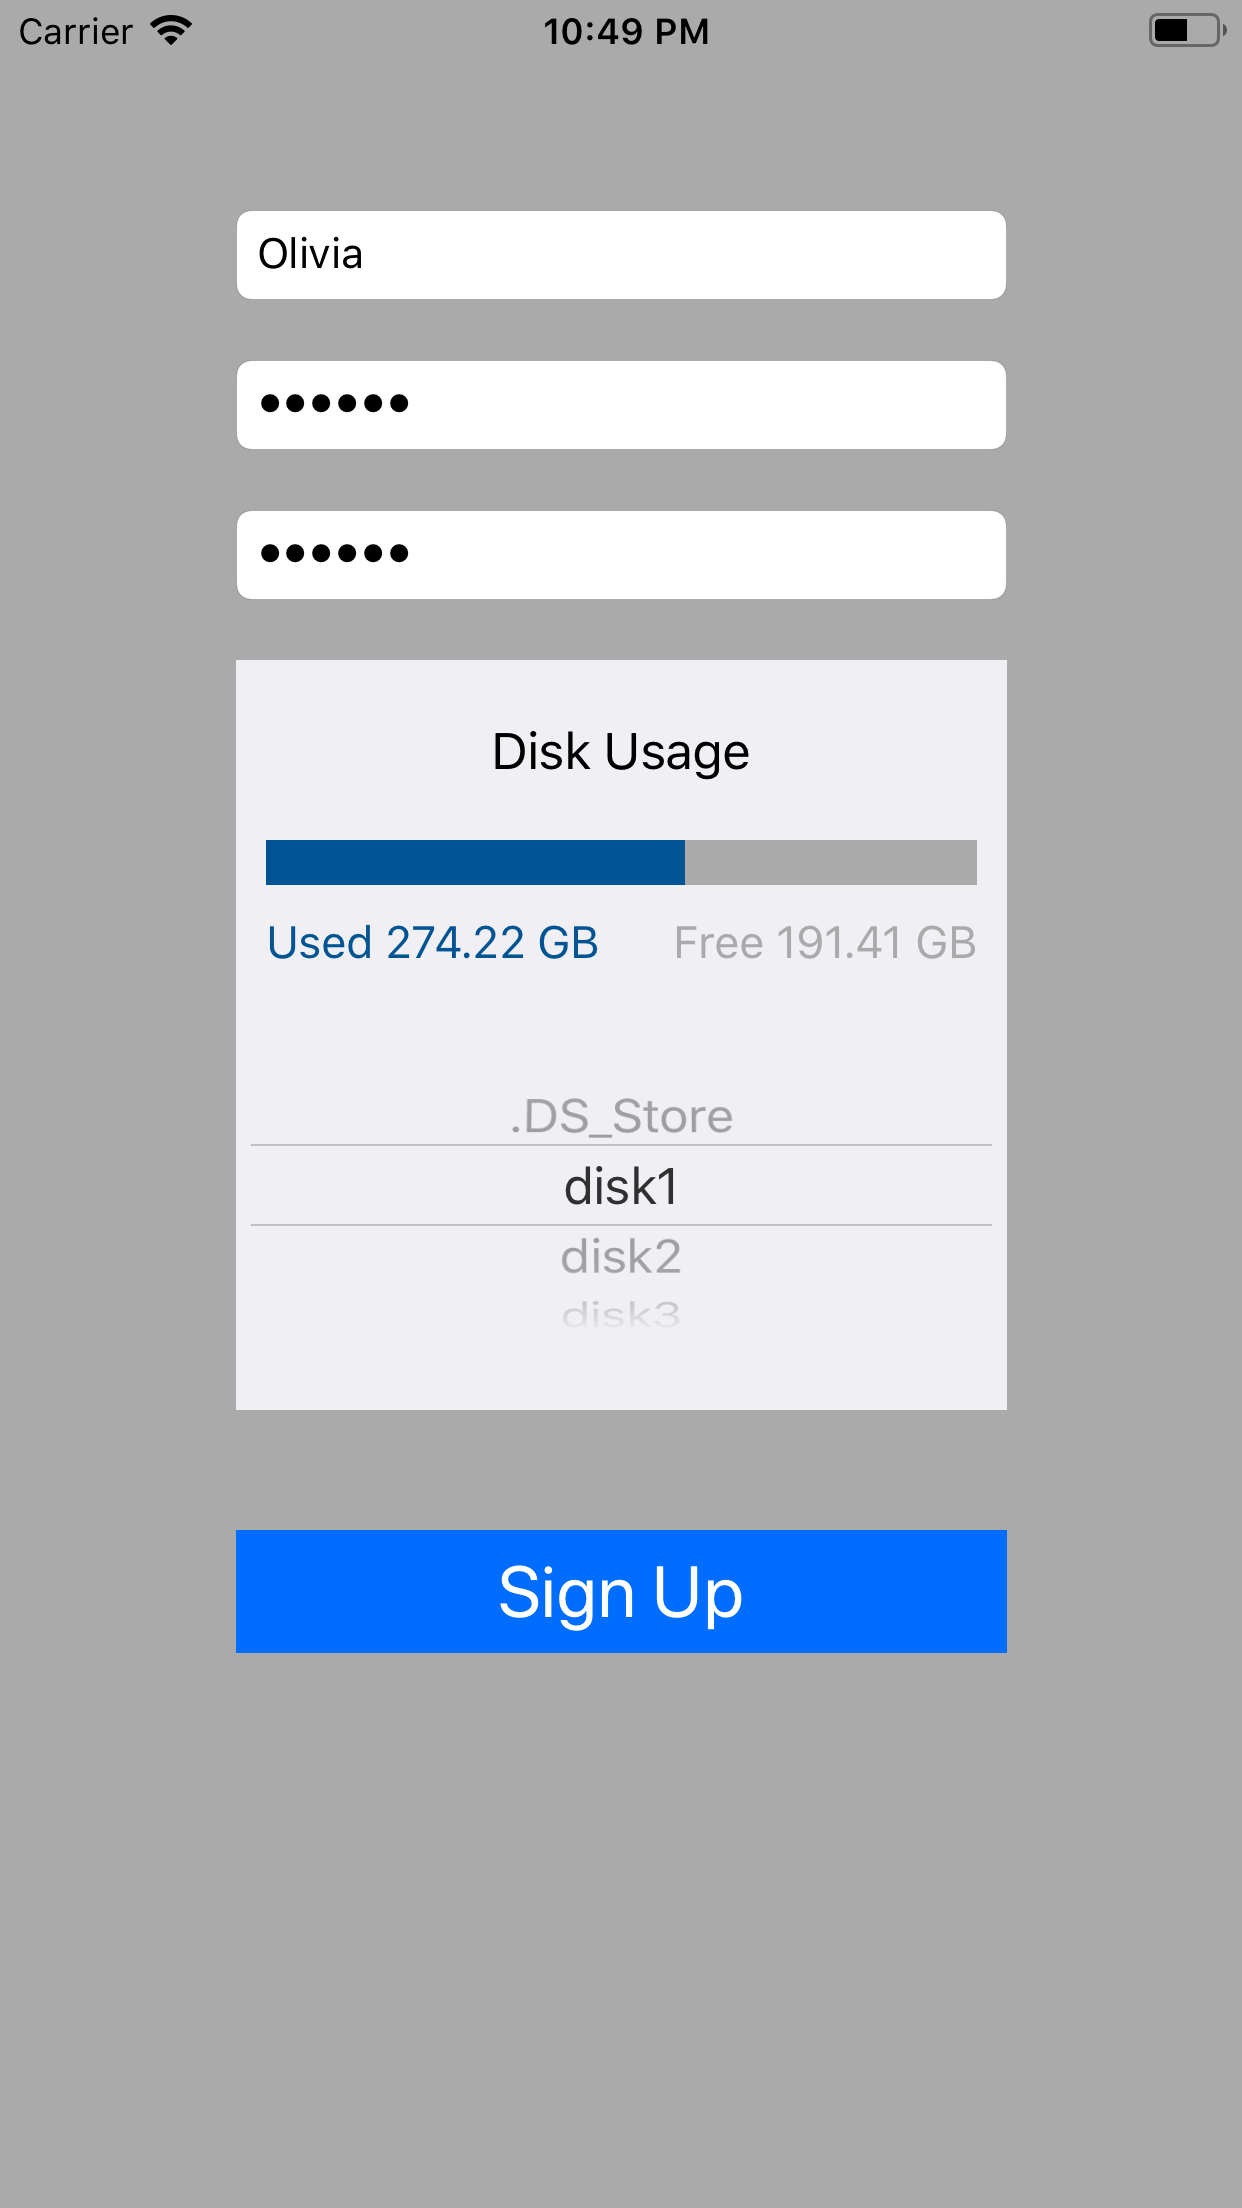
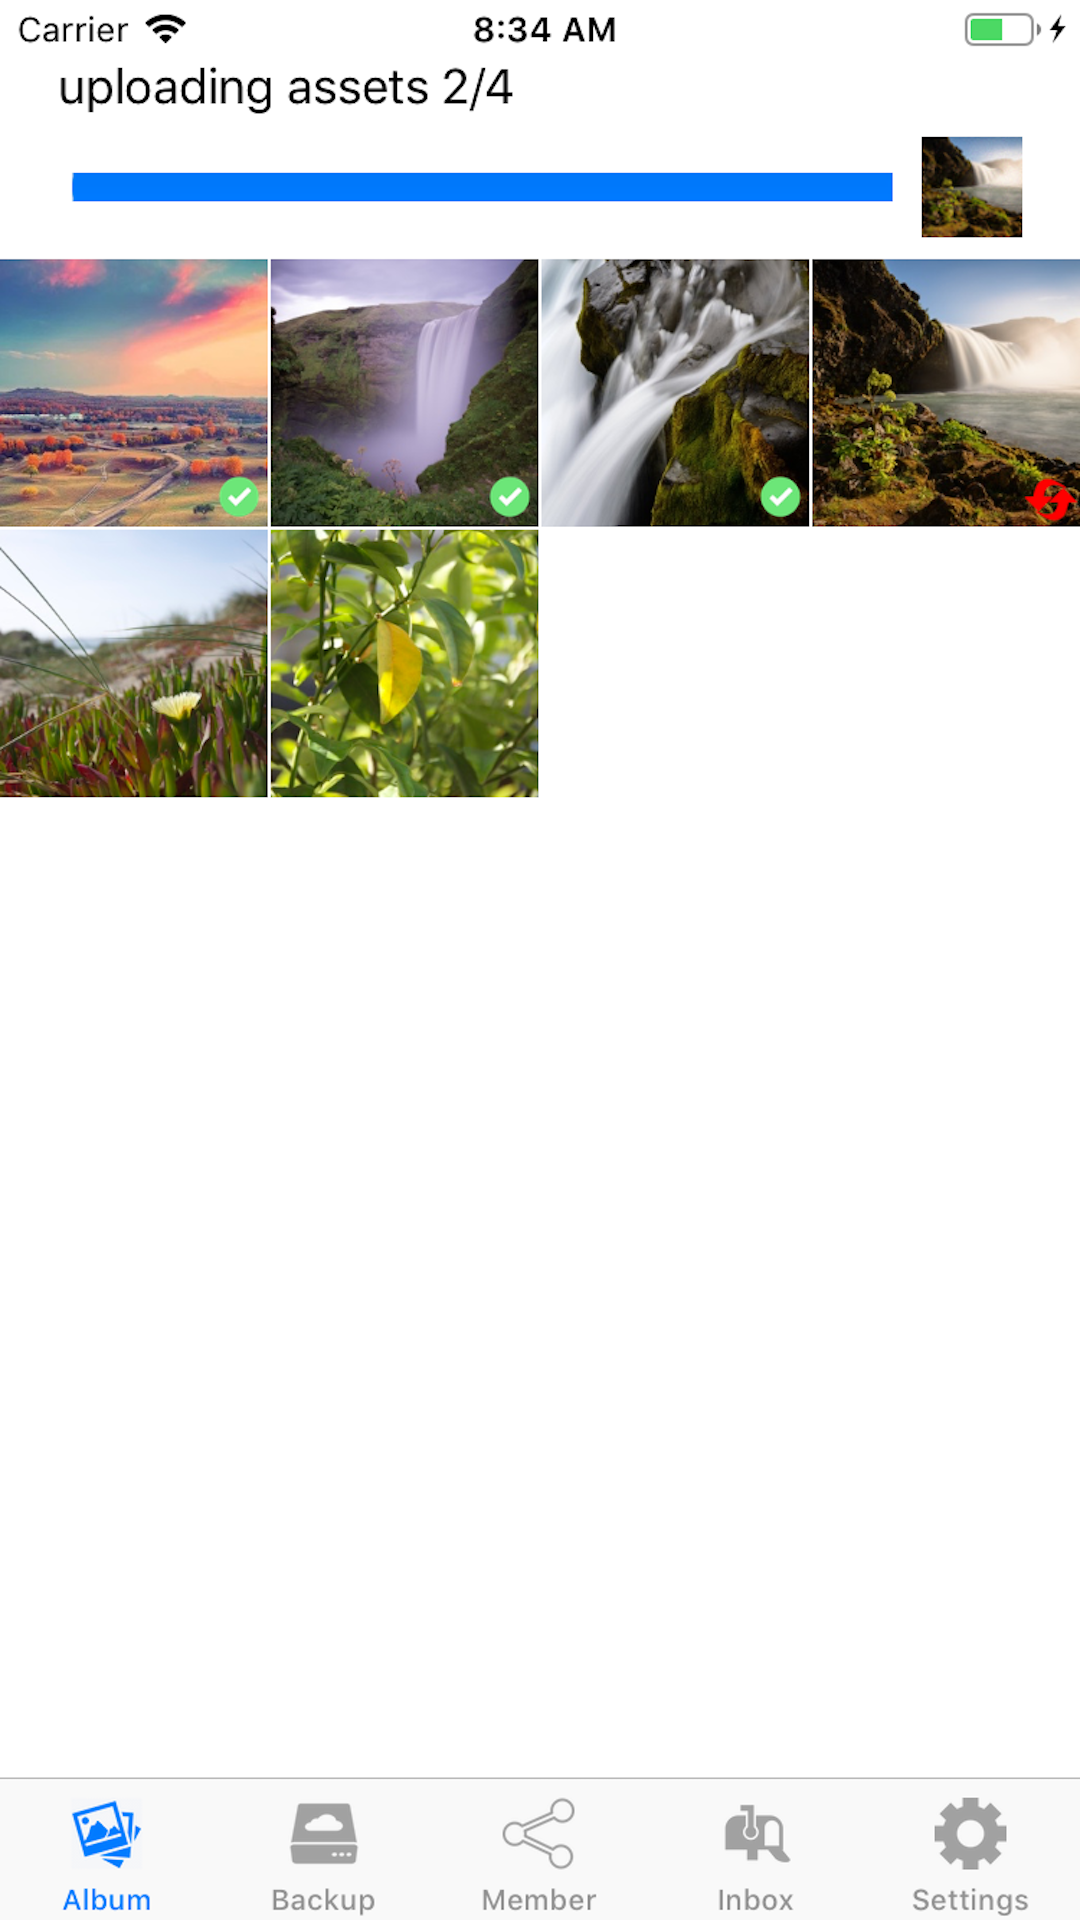
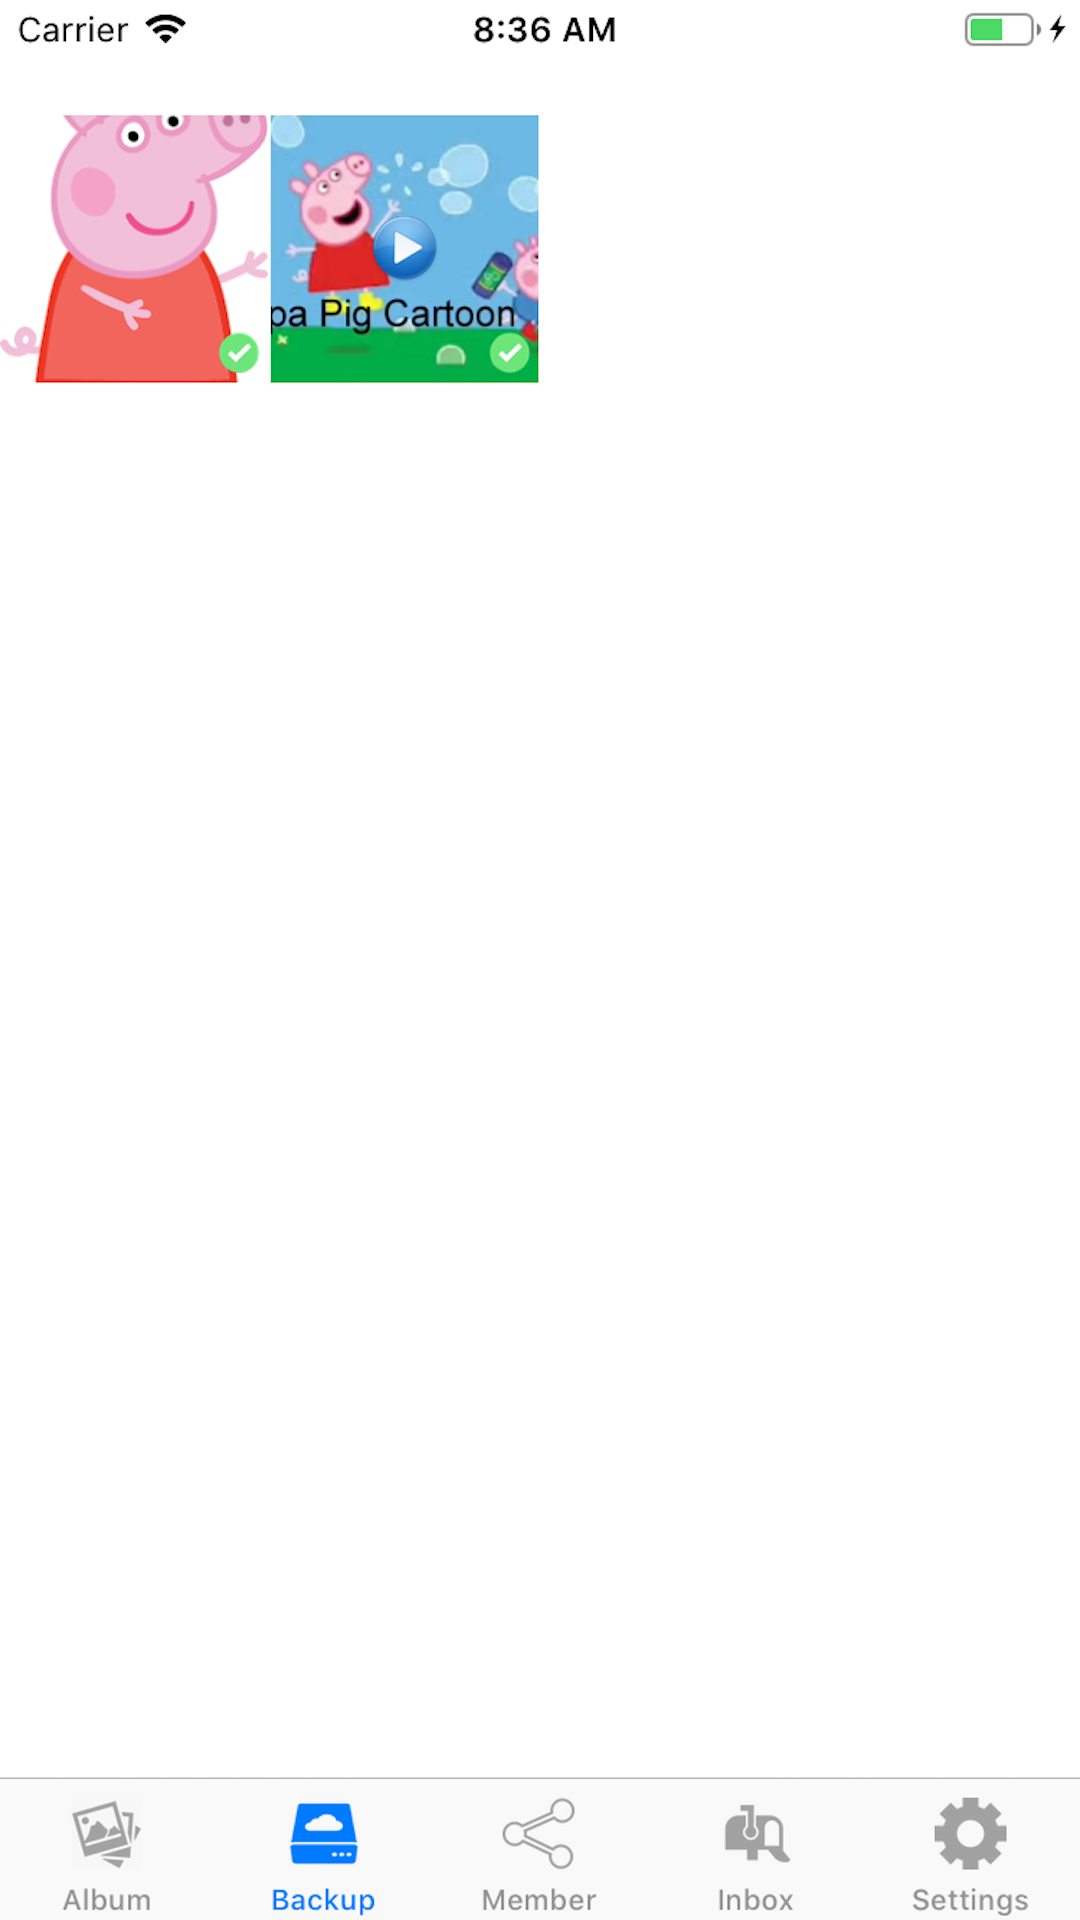
Then you can create user, choose the place you want to store your photos on the Lomorage service, after login, it will take a few minutes to import all your photos on phone, and then you can drop down to start uploading the photos to the place you choose to store your backup, if the photo uploads successfully, there will be a green check on the bottom right. The remote tab will show you those photos stored remotely but not exists locally, so if you delete your local photo that already backup successfully, it will show up in the remote tab view.
