What is NPS
NPS is a tunnel service similar with Ngrok, it’s a reverse proxy used to access local service behind the NAT/Firewall. If you are running self-hosted service like Lomorage at home, and you are outside and want to access Lomorage, then you can use NPS.
However NPS need to run somewhere with public access, there are lots of service providers there, fly.io has a free plan without binding any credit card, and it supports docker deployment, and the servers runs in datacenters around the world so that the service can be deployed close to the users.
NPS config
Now we need to pull the NPS source code:
git clone https://github.com/ehang-io/nps.git
NPS need config directory and config files to run, so we have to modify the Dockerfile to copy the config files when building the docker image. Creaet a file in nps directory named “Dockerfile” and input the following content:
FROM golang:1.15 as builder
ARG GOPROXY=direct
WORKDIR /go/src/ehang.io/nps
COPY . .
RUN go get -d -v ./...
RUN CGO_ENABLED=0 go build -ldflags="-w -s -extldflags -static" ./cmd/nps/nps.go

FROM scratch
COPY --from=builder /go/src/ehang.io/nps/nps /
COPY --from=builder /go/src/ehang.io/nps/web /web
VOLUME /conf
COPY ./conf/nps.conf /conf/nps.conf
COPY ./conf/multi_account.conf /conf/multi_account.conf
COPY ./conf/server.key /conf/server.key
COPY ./conf/server.pem /conf/server.pem
COPY ./conf/clients.json /conf/clients.json
COPY ./conf/tasks.json /conf/tasks.json
COPY ./conf/hosts.json /conf/hosts.json
CMD ["/nps"]
We also need to change following “conf/nps.conf”,
-
public_vkey: remove to disable public key access
-
web_username: username for admin portal login
-
web_password: password for admin portal login
-
allow_user_login: allow multi-user login and config
-
allow_user_register: open for public registration
@@ -18,7 +18,7 @@ bridge_ip=0.0.0.0

 # Public password, which clients can use to connect to the server
 # After the connection, the server will be able to open relevant ports and parse related domain names according to its own configuration file.
-public_vkey=123
+public_vkey=

 #Traffic data persistence interval(minute)
 #Ignorance means no persistence
@@ -36,9 +36,9 @@ log_level=7
 #p2p_port=6000

 #web
-web_username=admin
-web_password=123
+web_username=changeUserName
+web_password=changePassword
 web_port = 8080
 web_ip=0.0.0.0
 web_base_url=
@@ -56,8 +56,8 @@ auth_crypt_key =1234567812345678
 #allow_ports=9001-9009,10001,11000-12000

 #Web management multi-user login
-allow_user_login=false
-allow_user_register=false
+allow_user_login=true
+allow_user_register=true
 allow_user_change_username=false
Deploy on fly.io
Flyctl is a command-line utility that lets you work with the Fly.io platform, you can follow the steps to install flyctl on your local environment. Once you sign up an account on https://fly.io, you can sign in.
create file “fly.toml”, in this config file we expose port 8024 which is the NPS tunnel service port, port 8080 which is the NPS web admin portal, and port 443 which is the NPS reverse proxy service port. Basically you access the web admin portal to config the tunnel service and get a credential, and then run the NPC (client running locally connected with NPS) with the credential and forward the request to service you run locally, when you are outside and don’t have the access to local network, you can use NPS reverse proxy service to send request to the local service.
In the following example, we will use subdomain for the tunnel service, so we can use ONE 443 NPS reverse proxy service port for different users and services.
# fly.toml file generated for nps on 2022-10-11T14:44:40-07:00

app = "nps"
kill_signal = "SIGINT"
kill_timeout = 5
processes = []

[env]

[experimental]
  auto_rollback = true

[[services]]
  http_checks = []
  internal_port = 80
  protocol = "tcp"
  script_checks = []
  [services.concurrency]
    hard_limit = 25
    soft_limit = 20
    type = "connections"

  [[services.ports]]
    handlers = ["tls", "http"]
    port = 443

  [[services.tcp_checks]]
    grace_period = "1s"
    interval = "15s"
    restart_limit = 0
    timeout = "2s"

[[services]]
  http_checks = []
  internal_port = 8080
  protocol = "tcp"
  script_checks = []
  [services.concurrency]
    hard_limit = 25
    soft_limit = 20
    type = "connections"

  [[services.ports]]
    handlers = ["tls", "http"]
    port = 8080

  [[services.tcp_checks]]
    grace_period = "1s"
    interval = "15s"
    restart_limit = 0
    timeout = "2s"


[[services]]
  http_checks = []
  internal_port = 8024
  protocol = "tcp"
  script_checks = []
  [services.concurrency]
    hard_limit = 25
    soft_limit = 20
    type = "connections"

  [[services.ports]]
    port = 8024

  [[services.tcp_checks]]
    grace_period = "1s"
    interval = "15s"
    restart_limit = 0
    timeout = "2s"
now you can deploy the service:
fly launch
fly deploy
Custom Domain
Since we are going to use subdomain for the tunnel service, we need configure the DNS records, the following example will use “lomorage.com” as an example.
First find the ip address used for fly depolyment:
 % flyctl ips list
Update available 0.0.412 -> v0.0.413.
Run "flyctl version update" to upgrade.
VERSION	IP               	TYPE  	REGION	CREATED AT
v4     	137.66.35.87     	public	global	2022-10-11T21:53:48Z
v6     	2a09:8280:1::851b	public	global	2022-10-11T21:53:51Z
Then add two A records:
A   *       137.66.35.87
A   nps     137.66.35.87
Https configuration
Use the following command to create a certificate for your custom domain:
% flyctl certs create "*.lomorage.com"

Update available 0.0.411 -> v0.0.413.
Run "flyctl version update" to upgrade.
You are creating a wildcard certificate for *.lomorage.com
We are using lets_encrypt for this certificate.

You can validate your ownership of *.lomorage.com by:

1: Adding an CNAME record to your DNS service which reads:

    CNAME _acme-challenge.lomorage.com => lomorage.com.o2nlp5.flydns.net.
Then add CNAME DNS record for DNS Validation, it’s used to validate you have the control of the domain.
CNAME _acme-challenge.lomorage.com lomorage.com.o2nlp5.flydns.net
It may take a while to take effect, when succeed, https://nps.lomorage.com:8080 will be accessible.
Now NPS is deployed and configured successfully.
Use NPS tunnel service
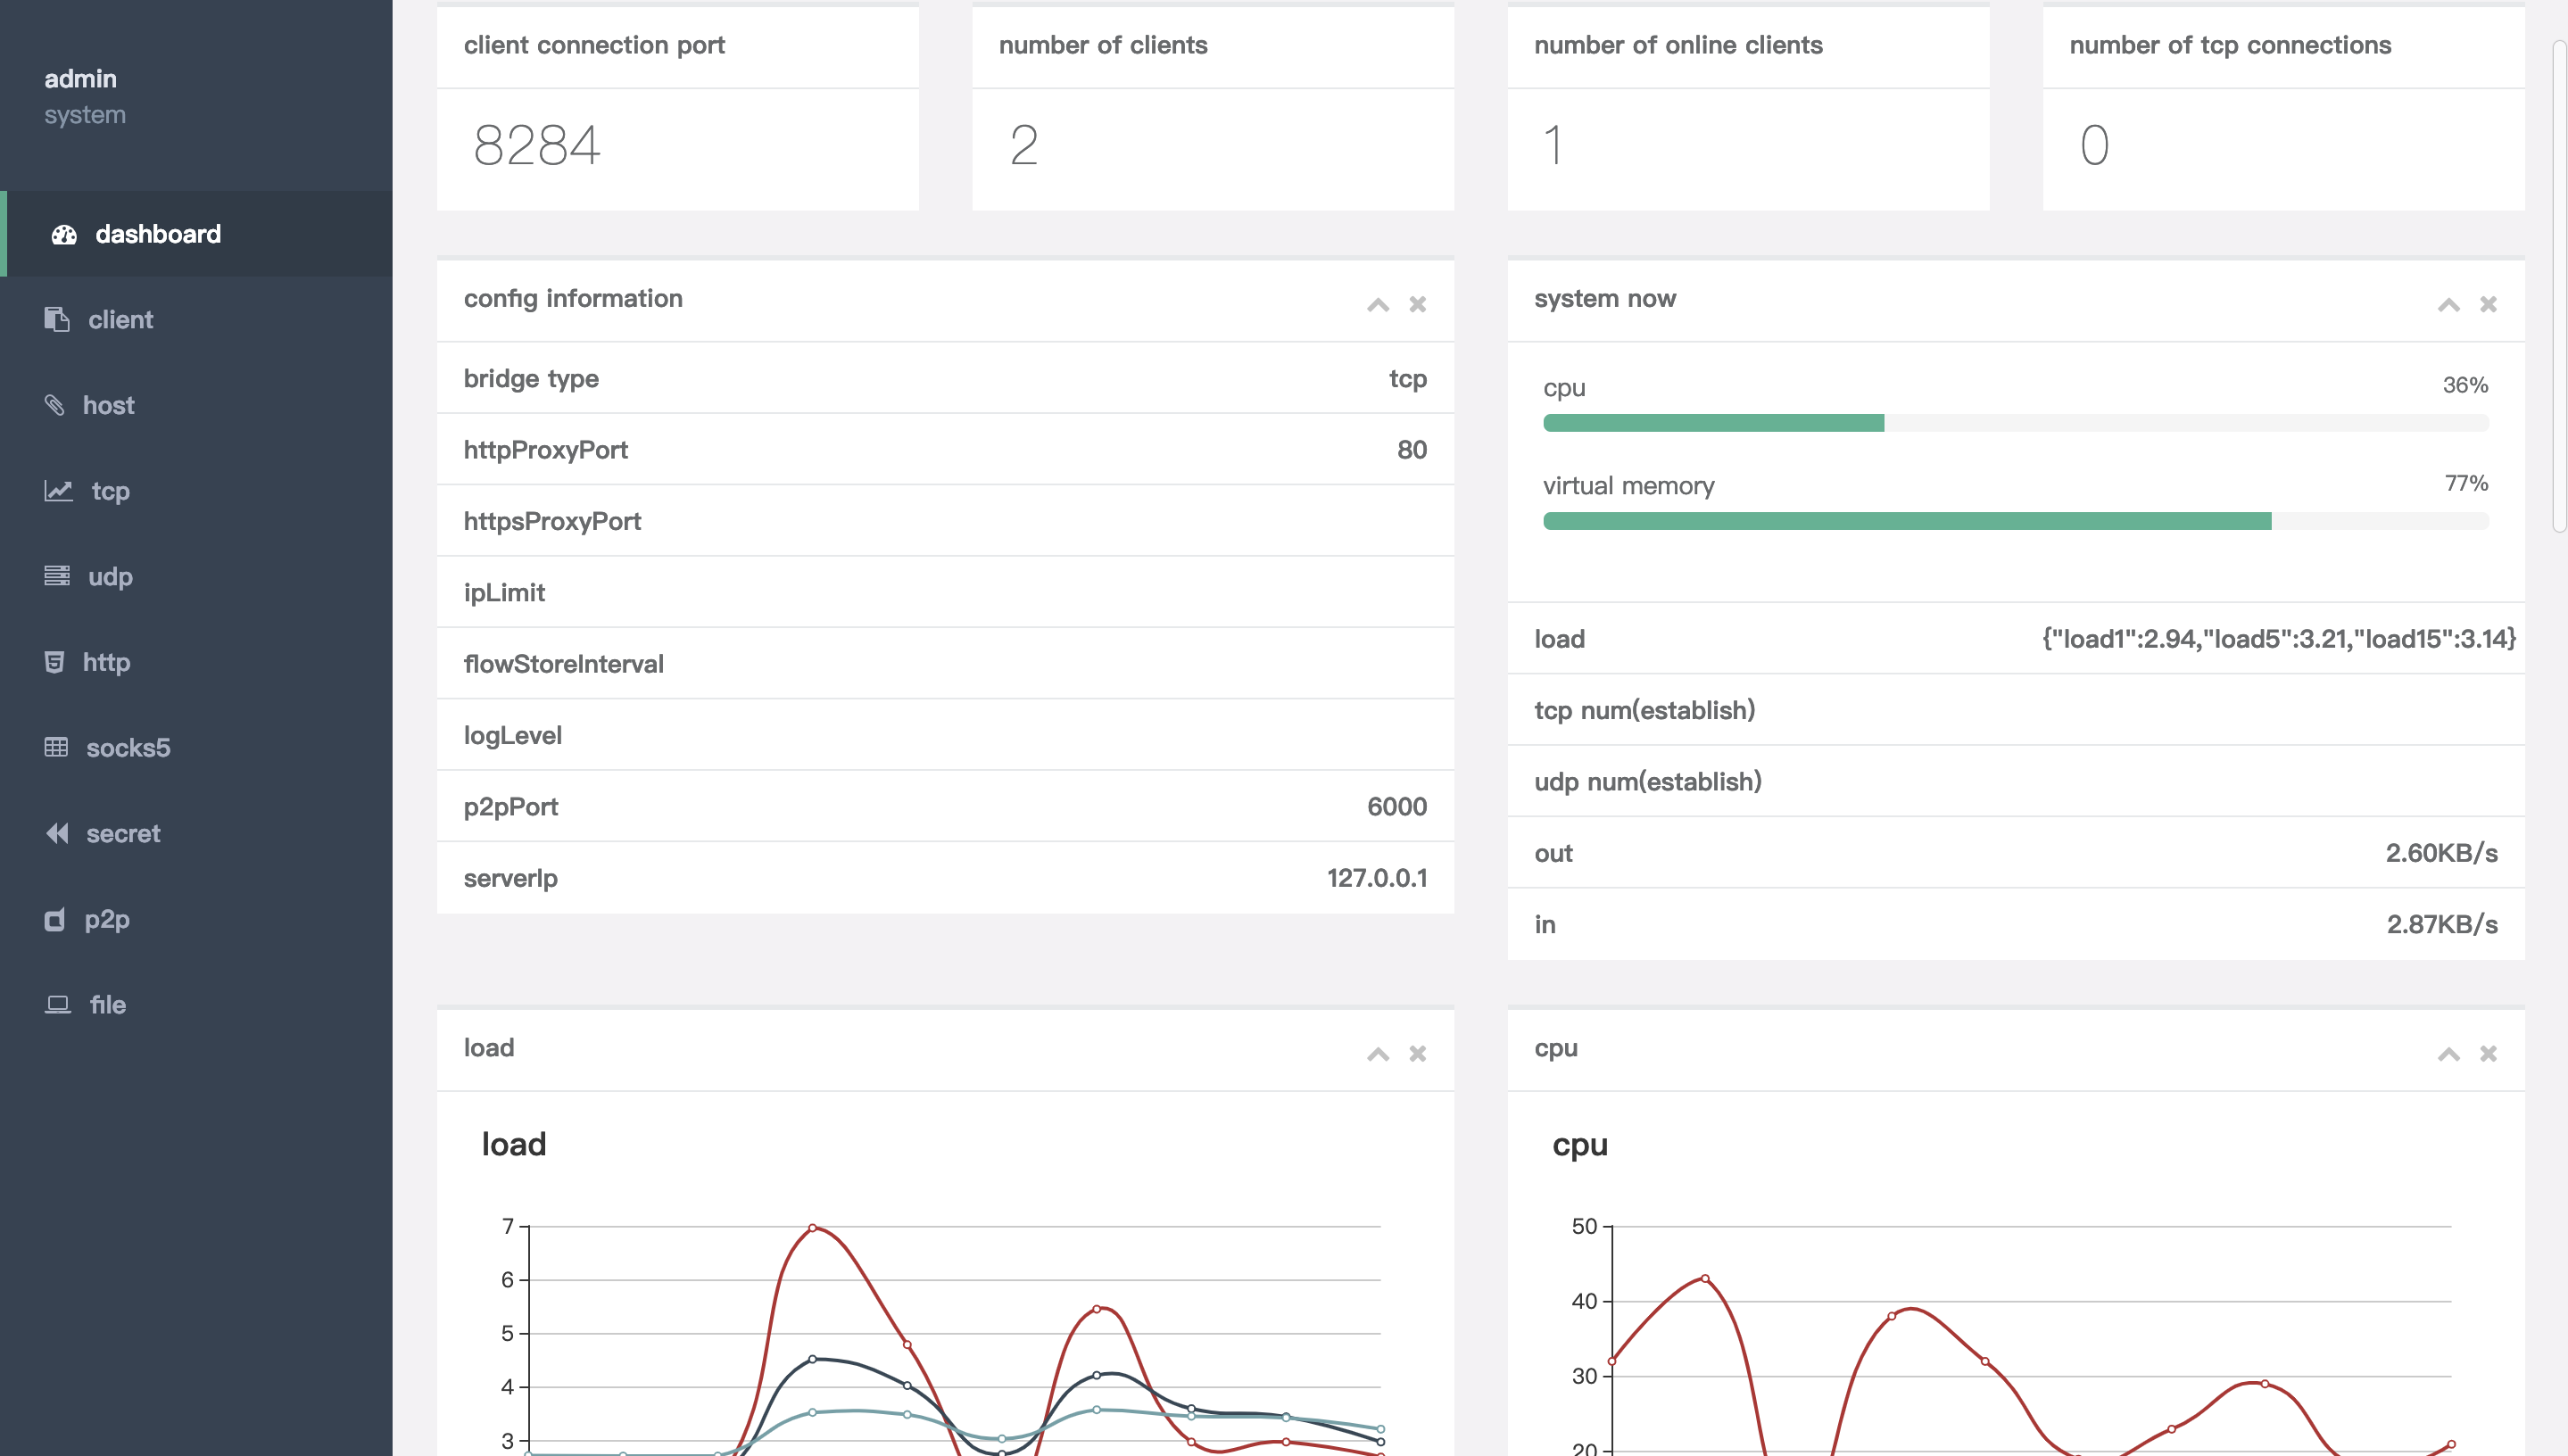
You can login https://nps.lomorage.com:8080 with the web_username and web_password configured above.
The first step is to create a Client, you can just create with the default settings and it will generate an “Unique verify Key”.
Then you need to run the client to connect with NPS, you can either download the client binary or compile it from source code, or run with docker. To compile from source code:
go get -u ehang.io/nps
go build cmd/npc/npc.go
Once you have npc binary ready, you can run it with the “Unique verify Key” generated above:
npc -server=nps.lomorage.com:8024 -vkey=Unique_verify_Key
And then you can go to “https://nps.lomorage.com:8080/index/hostlist" and create a host record, fill in the Client ID you just created, and choose custom subdomain Host, like “bob.lomorage.com” and farward the traffic to Target lomod service running on 192.168.1.169:8000.
Now you can access local Lomorage service using https://bob.lomorage.com .